How I Built an Arcade Machine Cabinet in 65 Complicated Steps
Yes, way back in 2007 I managed to muddle my way through building an arcade machine cabinet completely from scratch. I had no idea what I was doing really. I am not a trades person or particularly handy with tools or building things. I work in IT! So this is not really a tutorial (there are plenty of those on the web already) and don't take it for best practices.
I've had my pics up on facebook for a while so thought I would post them here to show how I did it and some of the gotchas that caught me out. There's no right way or wrong way. I just did as much research as I could before I began and then figured out a lot of stuff as I went. I encourage anyone thinking about this to give it a go - it was a great experience and I learned a lot. Feel free to use my art assets and plans if it helps you with your own project.
01 - Wood Panels
3 sheets of 1200 x 2400 x 18mm MDF. You could probably get away with 16mm panels as these are damn heavy! I was working on the principle that my lack of craftsmanship could be mitigated with pure strength so the plan was to build it strong. Remember to wear a dust mask if you are working with MDF. The sawdust is bad news!

02 - Structural Timber
These are lengths of 42 x 19 x 1200mm pine. I will use these to screw the panels together. They are actually dressed pine which is overkill for the inside of a cabinet but they were only $1.90 each. I also got four lengths of 70 x 35 x 900 structural pine for the more load bearing areas, such as the base and monitor shelf.
03 - Screws
Get a shed load of screws. This bucket has four different sizes... just in case.
04 - Putty
Wood putty is your best friend if you make a lot of mistakes like I do! Plus I counter sunk all the screws so the visible faces needed to be filled and sanded.
05 - Arcade Parts
Buy a box full of arcade parts including joysticks, buttons, micro switches (that go in the buttons & joysticks) and a keyboard controller.
06 - T-Molding
T-molding is tricky to find but worth it for that genuine arcadey look. Try your arcade parts supplier.
07 - Buttons
Not all buttons are equal (the spring can feel a little different) so get a few different ones to test. Buttons with 1 and 2 player icons are a nice touch.
08 - Joysticks
Joysticks can vary even more than buttons. These ones are made by Happ Controls, a US company. A quality build is important if they are going to stand up to some punishing game play.
09 - Slot cutter
A slot cutter is essential if you are using t-molding. These router bits are surprisingly hard to find in the right size. The slot needed for arcade t-molding is very thin.
10 - Micro Switches
Micro switches can change the feel of a button more than the button itself. These are inserted in the joysticks and buttons. Good ones are essential - they need to keep working after a gazillion clicks.
11 - Keyboard Encoder
A keyboard encoder emulates a PC keyboard. When your buttons are wired up to this they can be mapped to keys. Then when a micro switch is clicked and creates a connection, the keyboard encoder send the PC the mapped key (eg Cursor up, down etc).
12 - Hole Drill
A 28mm high speed hole bit is perfect for standard arcade button sizes. Remember you need to drill plastics as well as wood.
13 - Castors
Castor wheels - make sure they are heavy duty enough to hold the weight.
14 - Draw Slide
My cab has a pull out keyboard drawer. This drawer slide was only a few bucks.
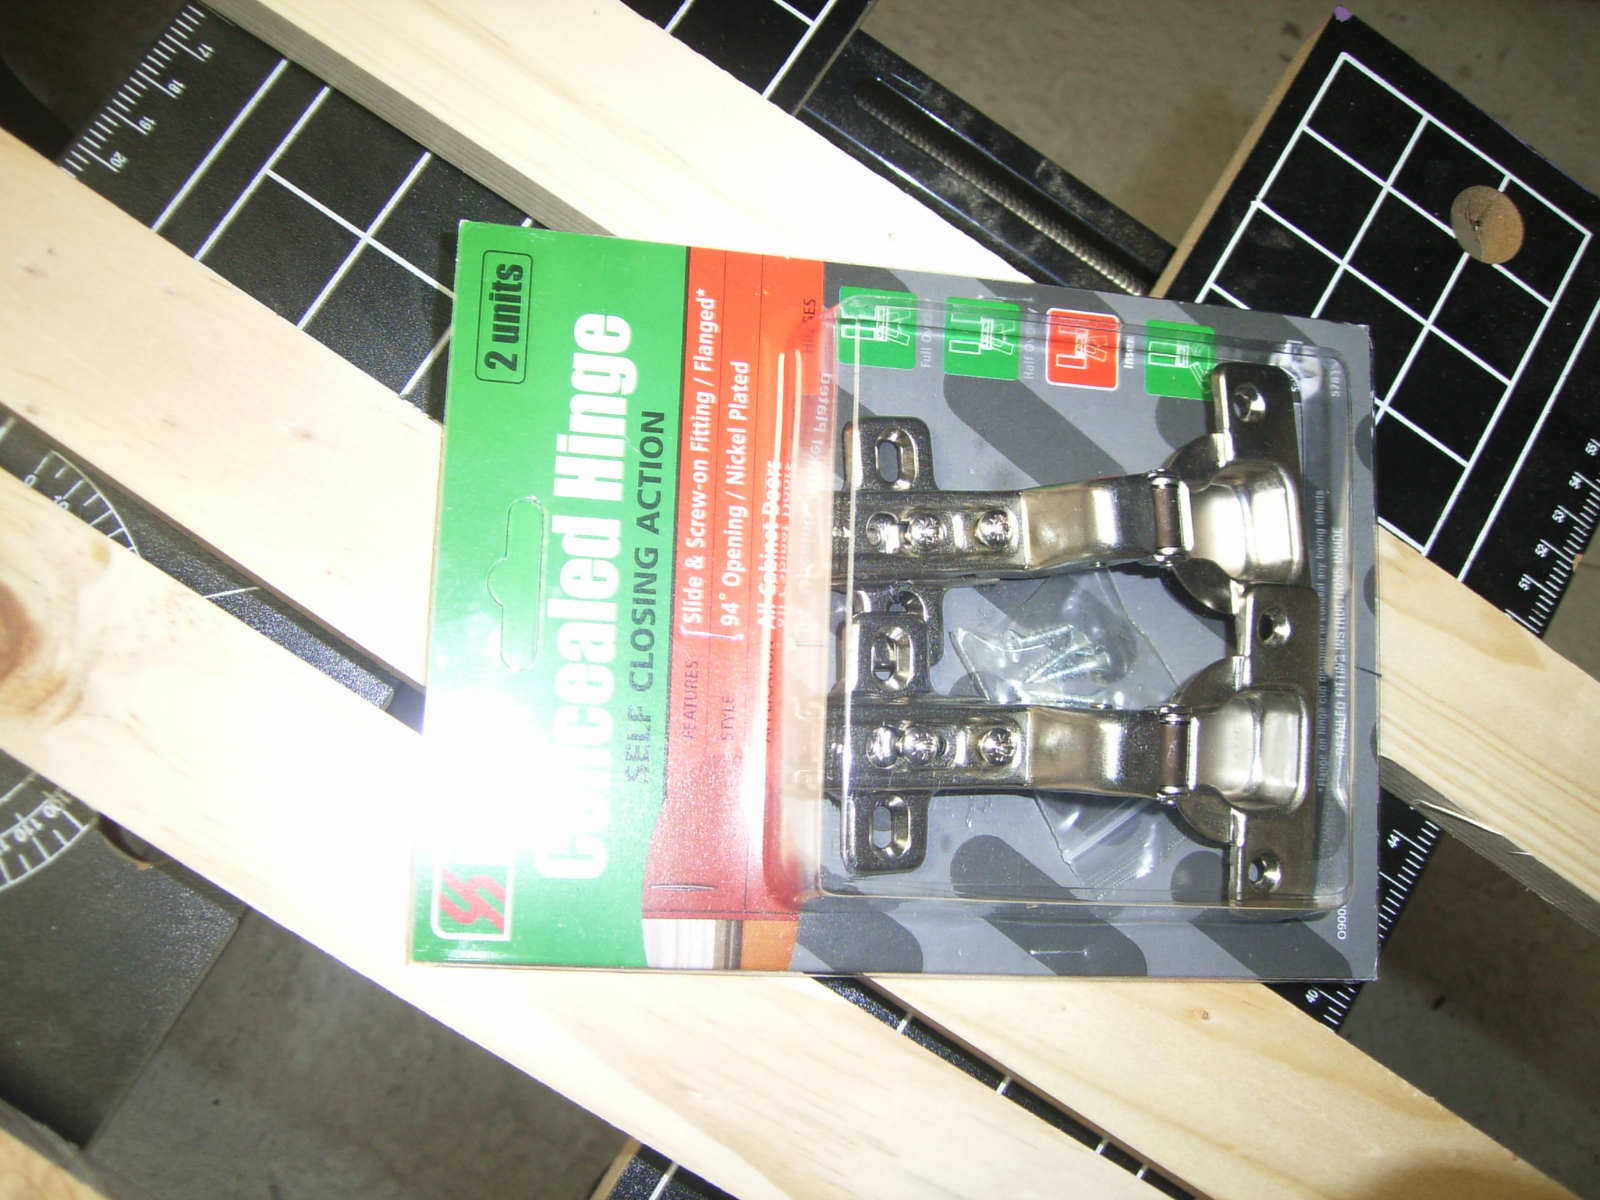
15 - Concealed Hinges
Concealed hinges for the cabinet access door.
Pages:
1
2
3
4
5
PAGE 2 CONTINUED
16 - A Plan?
Of course it's not a bad idea to have some sort of plan to work to - even if you make some mods along the way. Here's the ones I made. You can get them as a PDF here: http://finn61.sytes.net/arcade/dimensions1.pdf or as a visio file here: http://finn61.sytes.net/arcade/dimensions1.vsd
17 - Laying the Panels Out
I'm using 18mm MDF for the cab. You could probably get away with thinner but I wanted mine to be rock solid. Trade off is that it costs a little more and the finished cab is very heavy.
18 - Routing Slots
Do your slot cutting before you put the sides together. It's much easier to rout when they are laying horizontal.
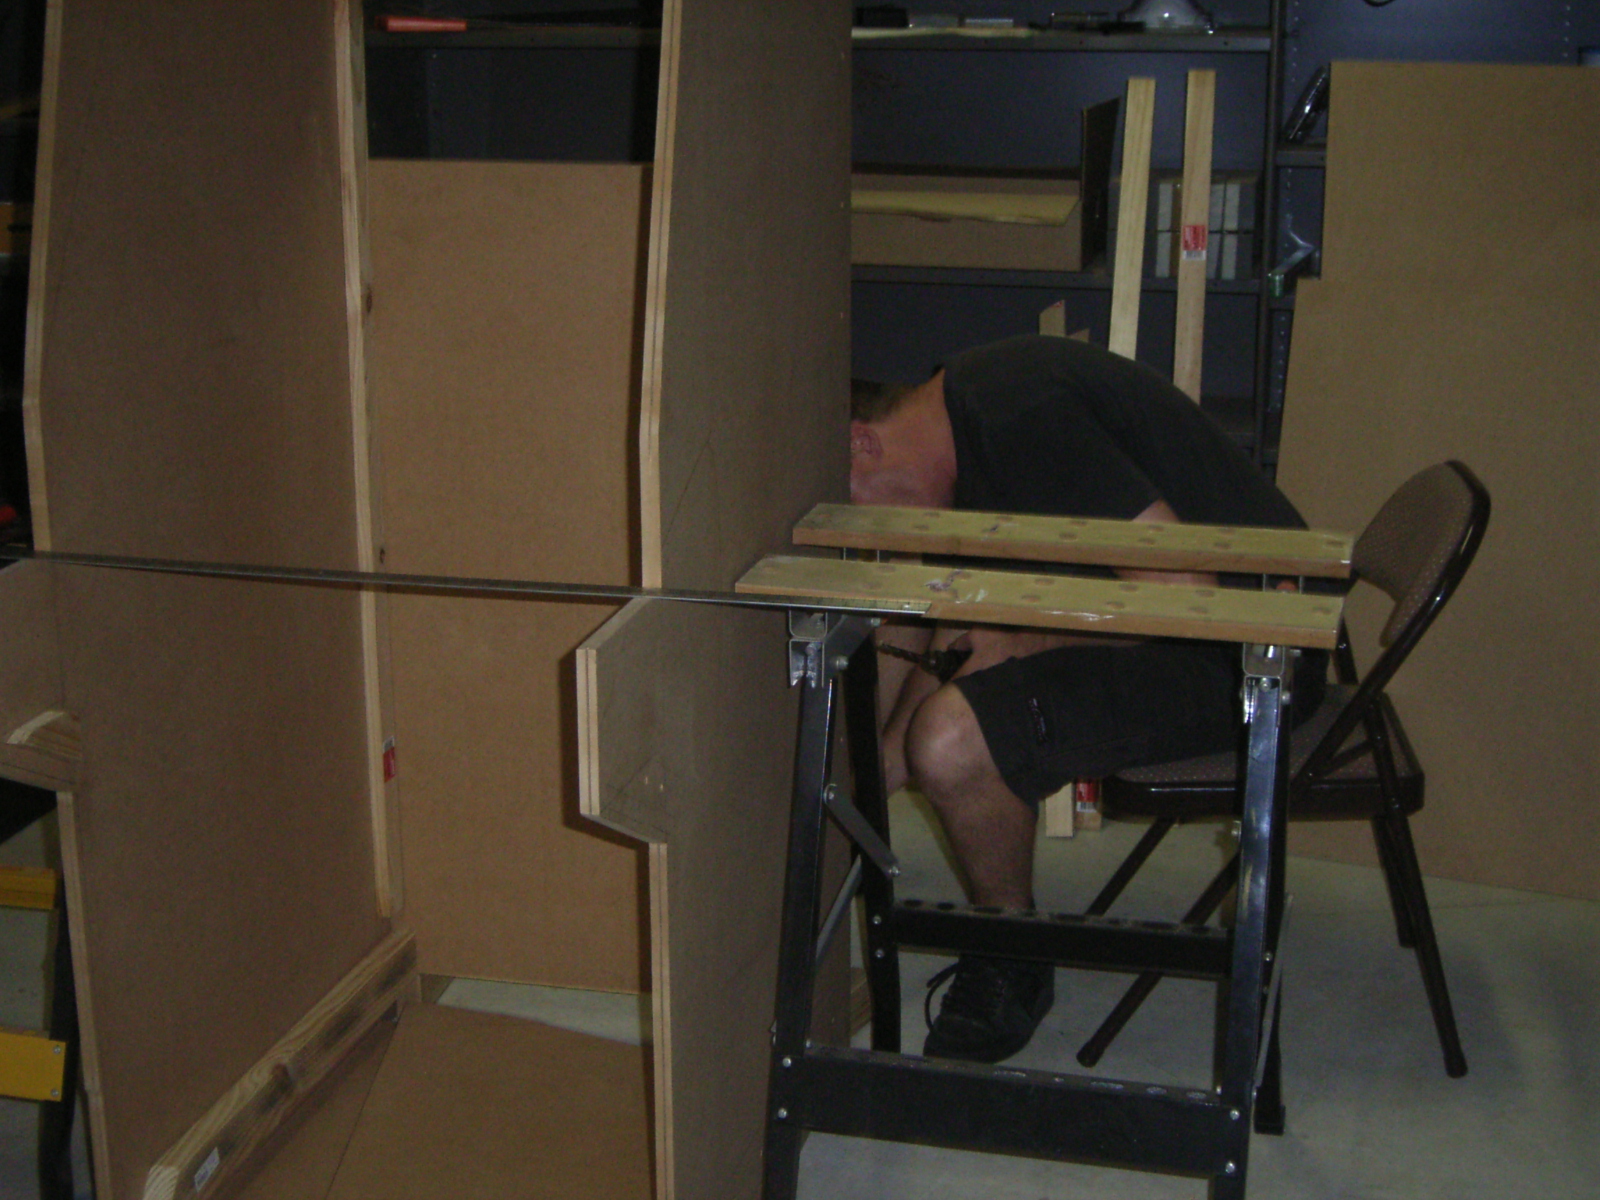
19 - Securing Panels
You might need to precariously stand things up and balance them while you screw together the sides and back.
20 - Free Standing
Screw the back two panels and the sides and the thing should be free standing. Don't screw the top on but here I have put it in place to check everything was lining up.
21 - Counter Sinking Screw Holes
You can see here I have counter sunk the screws holding the inside lengths in place.
22 - Guidelines for Screw Alignment
Guidelines on the outside help to screw into the right place.
23 - Structural Interior
Here you can see the inside lengths used to screw the panels together.
24 - Panel Thickness and Overhang
When placing the structural pine lengths make sure you leave enough gap for the panel thickness. Also you do not want panels flush where the t-molding will be inserted - leave some overhang.
25 - Rear Gap
I left a gap in the back of my cabinet so heat could escape and I could easily get to the back of the monitor if I need to.
26 - Undercoat
Undercoat the outside and inside with a good quality sealer. I got one that is especially for MDF.
27 - Sealing the Wood before Painting
Because MDF is absorbent it's important to do the inside as well. Any moisture absorbed by the MDF will weaken it over time.
28 - Inside Painting
Painting the inside of the marquee area is much easier if you haven't screwed down the top.
29 - Keyboard Tray
Here the keyboard tray is installed and painted as well.
30 - Speaker Holes
Clamps holding the bottom of the marquee in place - you can see the speaker holes have been cut.
Pages:
1
2
3
4
5
PAGE 3 CONTINUED
31 - Dowell For Front Perspex
Some dowel at the bottom of the monitor shelf will hold the perspex screen in place. The Lexan visible is for the top of the control panel.
32 - Monitor Shelf
Here you can see the monitor shelf with the two dowels to hold the perspex screen from dropping down.
33 - Marquee Overhang
The marquee isn't flush with the edge of the panels as the t-molding needs to over hang the edges.
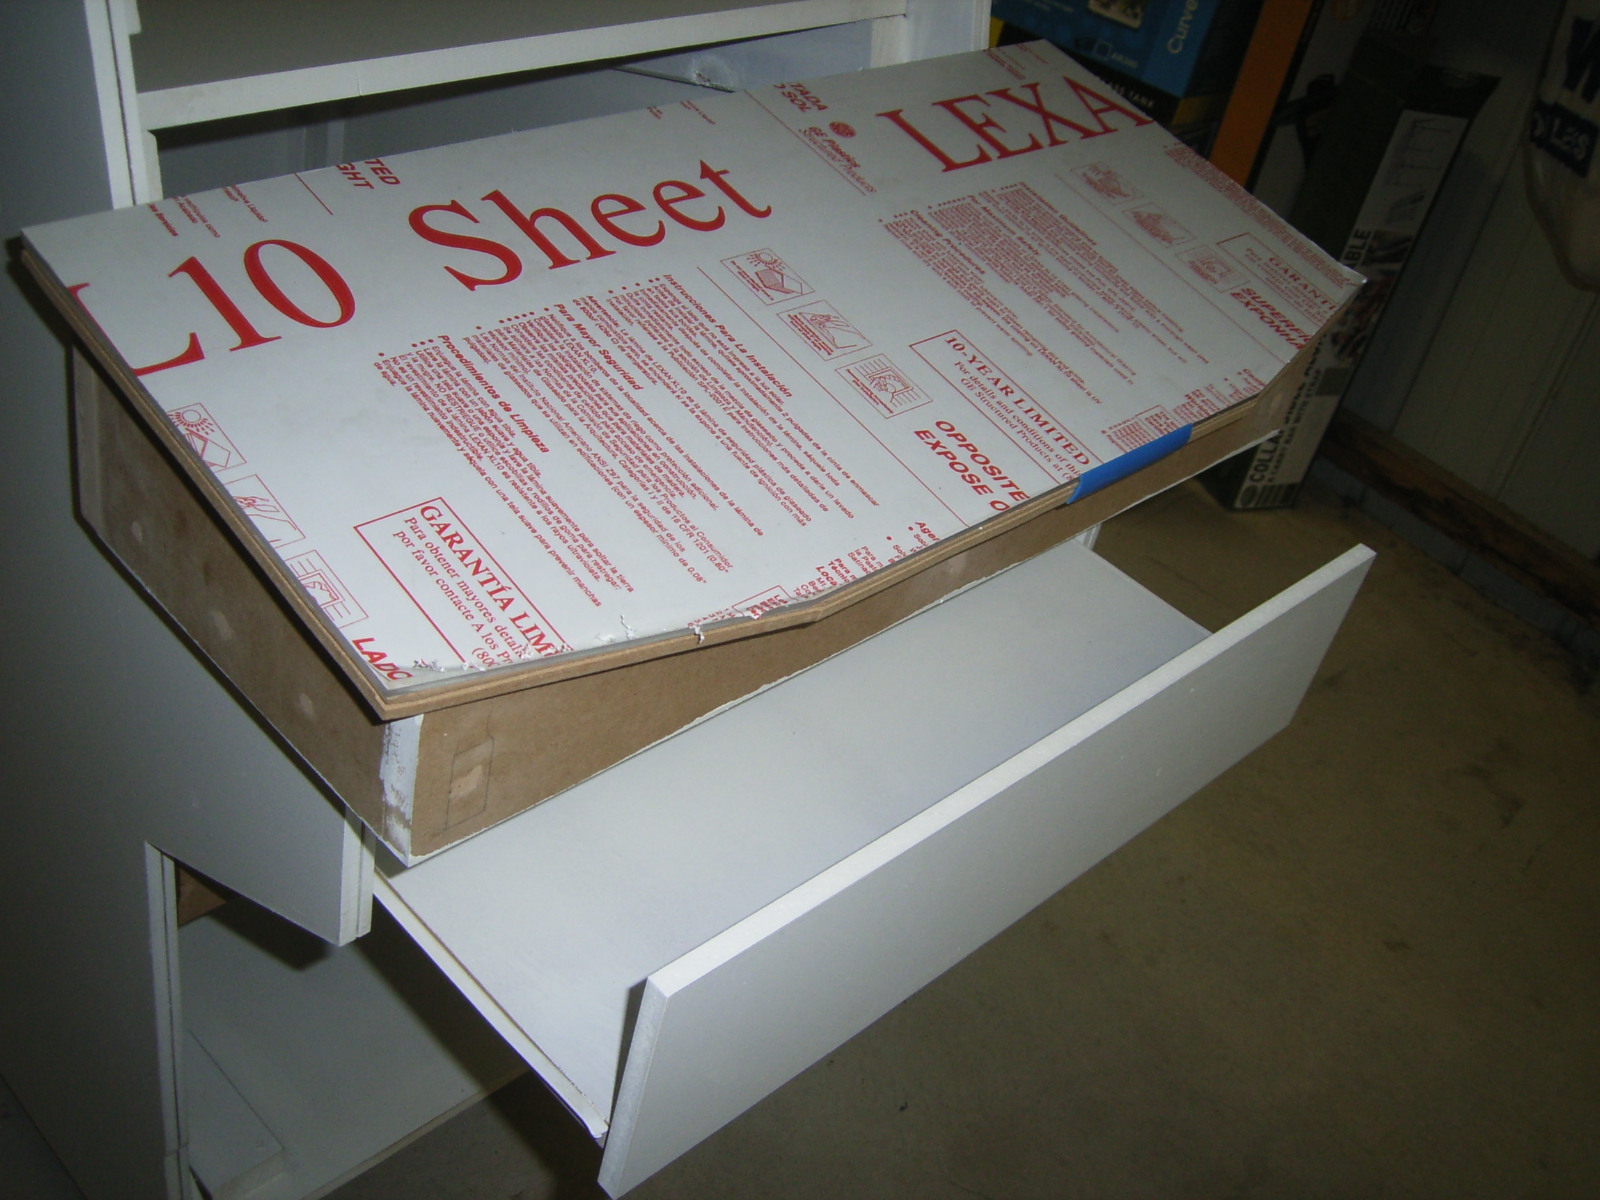
34 - Lexan
Lexan was used for the top of the control panel because it is much more resistant to scratching than perspex. Here you can see it is cut to the control panel shape. Cut with a slow, fine tooth jigsaw to prevent splitting - it's expensive.
35 - Control Panel Top
Thinner MDF is used for the top of the control panel and the Lexan sits on that. The control panel graphics will be sandwiched between the MDF and the Lexan. You can see a piece of t-molding in the slot cut into the MDF top. The slot should be slightly off centre so the t-molding also covers the edge of the Lexan top.
36 - Keyboard Drawer Open
Here you can see the keyboard drawer with slide action.
37 - Control Panel With Keyboard Drawer Open
Another shot of the keyboard drawer and control panel. The control panel is a self contained box with holes in the rear for cable access.
38 - Volume Controls
Just above the access door is a panel which will have the volume controls. You can see a liberal use of No More Gaps to seal all my bad joins! I screwed up the holes but after the black paint is on you can't really notice it.
39 - Audio Amplifier Shelf
Behind the volume control panel is a small shelf to hold the electronics.
40 - Inside View of Shelf
Here's the volume control panel from the inside with the small shelf visible.
41 - Amplifier Electronics
Here are the electronics ripped out of some amplified PC speakers. The speakers will be installed up in the marquee shelf and the controls will be accessible from the panel.
42 - Wood to Secure Front Perspex
Here is the marquee section fully painted. You can see a thin piece of wood to the rear of the speaker holes. This will hold the top of the front perspex screen which will slide in behind this wood.
43 - Marquee Fluro
You can see the fluro tube installed at the rear of the marquee. This illuminates the marquee display.
44 - Front View Monitor Shelf
With the control panel removed you can see the monitor shelf held in place by the structural pine on either side.
45 - Miscut On The Front Left
Here you can see where I screwed up the first cut of the project. Fortunately the t-molding mostly hides it and being down the bottom it's not really noticeable anyway.
Pages:
1
2
3
4
5
PAGE 4 CONTINUED
46 - T-Molding Slot Over Top
You can see the t-molding will continue right over the back of the cabinet.
47 - Marquee Fluro Tight Fit
I was lucky - this light only just fits. Do your homework first!
48 - Off Centre Slot Cutting
The slot on this side is off centre. It's ok because the t-molding has some overhang that was trimmed off and pretty much covers the whole edge.
49 - Control Panel Overlay Graphics
Time to do some graphics work. Here is the control panel overlay designed in Photoshop.
You can get this as a high quality PDF here: http://finn61.sytes.net/arcade/CPoverlay_1.pdf - 13MB. Most printers will accept (and some prefer) PDF format. I had them print this on high gloss thick paper stock. Here is the Photoshop file for editing: http://finn61.sytes.net/arcade/CPoverlay_1.psd - 62MB.
50 - Marquee Graphics
Here is the marquee display. PDF is here: http://finn61.sytes.net/arcade/marquee_1.pdf - 8MB and the Photoshop file is here: http://finn61.sytes.net/arcade/marquee_1.psd - 36MB.
This was printed on a lighter stock because the fluro needs to shine through it.
51 - Side Panel Artwork
Side art was printed on adhesive vinyl and stuck on to the side panels. PDF here: http://finn61.sytes.net/arcade/Sideart_1.pdf - 3.8MB and Illustrator file here: http://finn61.sytes.net/arcade/SideArt_1.ai - 71MB.
52 - Measuring Control Panel Overlay
Here you can see the printed control panel overlay being measured up. My cabinet also plays pinball games so you can see I have put buttons into the side of the control panel for flipper control.
53 - High Gloss Paint Job
A lot of progress here. The outside has been painted with a high gloss acrylic. A sponge roller is best to give a smooth finish. Coat, sand and coat again, as many times as you can. The marquees artwork is sandwiched between two pieces of clear perspex. Two small screws hold it at the bottom while some black t-molding covers the top.
54 - Bezel and Smoked Perspex
You can see the front bezel and perspex in place. The bezel is a thin piece of ply cut to the size of the monitor and painted black. On top of that is a sheet of smoked perspex. The smoked look makes it a bit darker but it's not too dark that it detracts from the screen. These are both held by the dowel and the thin piece of wood underneath the speaker shelf.
55 - T-Molding Installed
T-molding has also been installed on the side panel edges.
56 - Control Panel Test
The control panel has been drilled and here it is sitting in place with buttons before being painted.
57 - Insert Coin Buttons
Starting to take shape. The two rectangular buttons at the front centre of the control panel are illuminated credit buttons to simulate inserting coins. I run the power for them from the PC's power supply.
58 - Side Control Panel Buttons for Pinball
The pinball buttons on the side of the control panel are visible here including some at the front for plungers.
59 - Marquee Light Test
Light test. There is some light leaking from the edges of the marquee display. Some black electrical tape on the inside of the perspex should fix the problem.
60 - Moon Patrol
Who doesn't love Moon Patrol? A little play testing...
Pages:
1
2
3
4
5
PAGE 5 CONTINUED
61 - Control Panel Complete
Finally the control panel is finished and it's time for some gaming action.
62 - Control Panel Closeup
Closeup of the finished control panel.
63 - Hang The Door
Warning: hang the front access door before you start playing or it will never get done.
64 - Button Smashing
Control panel designed for some hardcore button smashing.
65 - Mission Accomplished
Game on.
Pages:
1
2
3
4
5


No comments:
Post a Comment